Want to extend the life of your favourite clothing pieces?
Food waste dyes are one of the most sustainable methods of natural dyeing and an easy way to give a garment a new life.
Learn how to dye our beautiful Organic Cotton Flow Set with our sweet friend Jamie.
Avocado pits and skins are capable of creating the most lovely dusty pink natural dye. They contain a dye compound known as condensed tannins or proanthocyanidins that are responsible for the beautiful colours they create.
Most natural dyes won’t bind to fabric without the help of a mordant. Mordants are mineral salts that are used to pretreat the fabric before the fabric is introduced to a dye. Mordants create a chemical bond to the fiber and the dye that, essentially, fixes the dye into the fiber. Tannins are one of the only dye compounds that can form a (weak) connection with fiber without a mordant. However, the colour will be much more saturated and long-lasting if the fabric is pretreated before being dyed.

Soy milk pretreatment is a wonderful option if you aren’t quite ready to jump into mineral salt mordants. The proteins in soy milk act as a glue by creating a physical bond to the fabric and dye.
To pretreat cloth with soy milk, dilute one cup of soy milk with 6 cups of water. Soak fabric in the diluted soy milk bath for at least 12 hours then wring excess liquid out of the fabric and allow it to completely dry. Dip the fabric again, allowing it to become fully saturated before wringing and drying. Repeat 2-3 more times and the fabric will be ready for dyeing.

Supplies
- Aluminum or stainless steel dye pot (a pot should not be used for food after it has been used for dye)
- Bowl or additional pot
- Clean avocado pits or skins (fresh, frozen or dried)
- Water
- Spoon
- Sieve or fine mesh strainer
- Cheese cloth or cotton muslin
- Fiber that has been scoured and mordanted or pretreated with soy milk
Step 1
Place avocado skins or pits into a pot and cover them with water. The amount of pits or skins that should be used depends on the depth of colour you are trying to achieve. For a medium adult t-shirt, I use 3-4 pits or around 10 skins for a light to medium pink. Less pits or skins will give a lighter colour and more will give a deeper colour. Pits and skins can also be mixed for a beautiful rosey dye.

Step 2
Heat the pits or skins on a low temperature for 1-2 hours. You might be tempted to turn up the heat to get faster results. However, heating avocado dye at a higher temperature causes the colour to shift from pink to orange/brown. You should notice that colour is beginning to be released into the water after 15-30 minutes of gentle heating.
Once the liquid has become a peachy pink colour, turn the heat off and allow the dye to oxidize for a few hours. As the tannins oxidize, they become pinker. I sometimes like to let the dye sit overnight.

Step 3
Remove the skins and/or pits from the dye. If you’re hoping to create even colour on cloth, be sure to pour the dye through a strainer and cloth to catch any small pieces of solids. If not, you can simply use a spoon to remove the large pieces.
Step 4
Wet out your cloth by soaking it in water for at least 30 minutes. This step helps the dye bind to the fabric more evenly.

Step 5
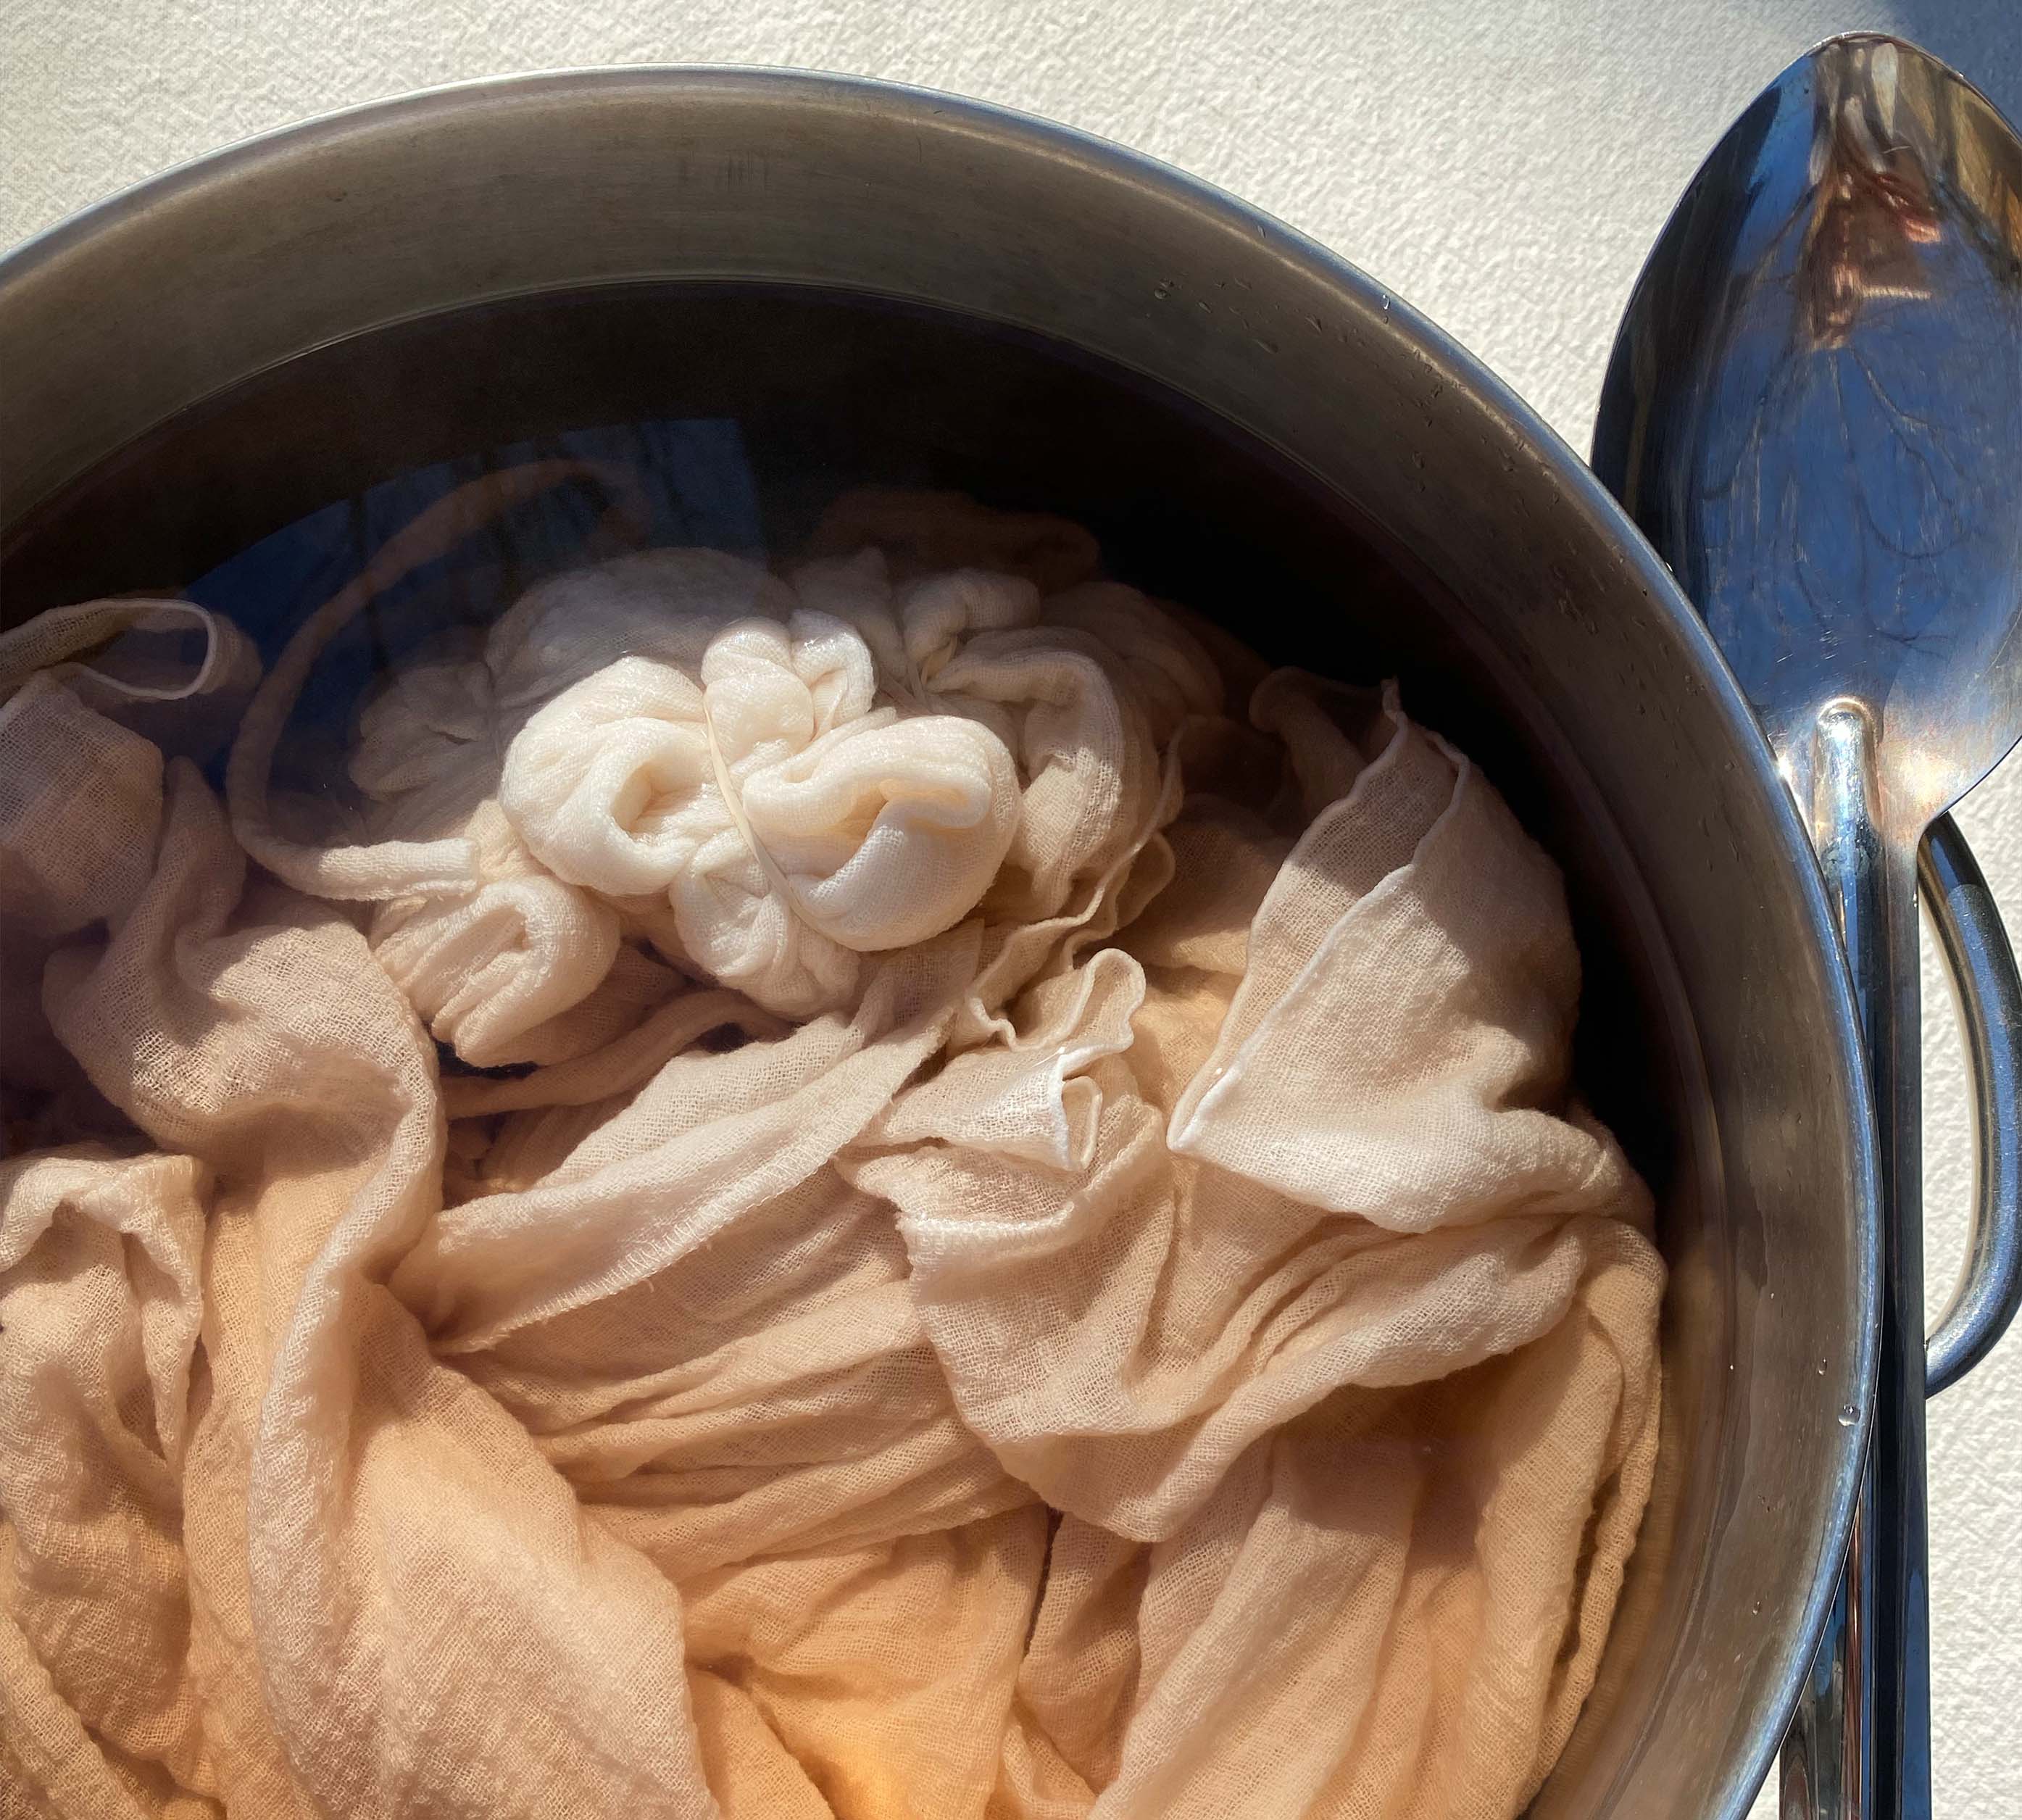
Squeeze out the excess water and place your fiber into the dye. Give it a good stir and make sure that all of the air bubbles have been pushed out so it can sink under the dye.
Step 6
Heat the dye and fiber or fabric on a low heat for around an hour, stirring and checking the colour frequently. Stirring often helps reduce the chance that the fabric will be dyed unevenly.
To shift the colour to a deeper, rusty tone, add a pinch of baking (sodium bicarbonate) to the dye and stir well to dissolve.

Step 7
Remove the fabric from the dye and squeeze out as much of the excess dye as possible. If you’re satisfied with the colour, you can wash your fabric with a gentle detergent and hang to dry or in the dryer according to your fabric’s care instructions.

We hope you enjoy getting creative at home with Jamie’s natural dye wisdom.
More links and resources can be found in her bio @thebarefootdyer
With love,
Indigo Luna xx


